 Happy Big Brew Day 2018... I'll be posting about Big Brew in a subsequent post!
I know most of you come here for beer knowledge. I know most of you love beer. Hey, I love beer to. I've been in this hobby for 28 years. But this hobby is not really just the beer making hobby. It is the fermentation hobby. The skills you have learned making beer apply to other fermentables as well. With the skills you have learned brewing you can make world class Bread and Pizza, Fermented Pickles, Cheese, Cider, Mead... and Wine.
 Most of you also make Mead, and Cider... but not Wine. And I think I know why. Wine has a certain je ne sais quoi, an unidentifiable aura. There are entire libraries of books dedicated to wine. There are people who spend their entire life studying wine. They enjoy tasting wine and smelling wine and trying to pick out the subtle flavors and aromas. You can make a fortune, by finding words to describe wine in a way that others have never thought to say.
 If you like to try to pick out the subtle fruit flavors of a NEIPA, you would probably enjoy doing the same with a Pinot Grigio, a Pinot Noir, or a Syrah. There are so many people who love wine, and who enjoy tasting different wines. And there are a whole bunch of snobby idiots who think "wine love" is a symbol of refinement, achievement, and fine breeding. They are quite simply Jerks.
Wine making and trading doesn't have to be snobby. Making wine doesn't mean you have to join the local snooty patooties at some expensive exclusive club and argue about the merits of the 1961 Petrus vs. the 1982 Latour. You can still be a beer guy and enjoy wine as well. The best thing about home brew... there are no rules.
 And there is a benefit. Chicks dig wine! It's a fact. Most chicks (forgive me ladies) enjoy wine more than beer. In my scientific research (wine tastings) your SWMBO will find you significantly more attractive and even tolerable if you make some wine. Alas, my SWMBO is gone. It's my fault, I should have made more wine...
Over the years I have made hundreds of batches of wine and over 800 batches of beer. I've also made some cider, and some mead, and pickles. I have made wine from fruit, and from grapes. And it is always fun. Making wine from grapes is a once a year thing for me. I go to the LHBS and order 90 - 120 lbs of grapes. I use their destemmer and crusher. There are 30 to 40 other wine makers there, there are horderves, and loads of beer and wine to try. The rest of the year, I make wine from Fruit (frozen berries) and from Kits. I have used every major manufacturer. I have settled on two manufacturers. One by preference (Master Vintner), and one because it is what my LHBS carries (winexpert) Both make excellent wines.
 My preferred wine Kit manufacturer is Master Vintner. Every single wine I have made by them has been excellent. The customer support is fantastic. If you post a question, Tim (the curator) will actually get back with you. The website is great, and loaded with information. And the prices, are much more reasonable than other manufacturers (about $70 for a basic kit).
Now compared to most people I am an advanced wine maker. I have the gear to test for sulfites, and acid (not pH actual acid), I have a pump and filter (somewhere in storage). I have a large primary fermenter dedicated to wine, big mouth bubblers with spigots, and loads of glass carboys. (you don't need all this stuff it's just fun). Compared to my sister and brother in law I am a GOD OF WINE...I am Bacchus himself. But they wanted to learn to make wine and so, being a beneficent wine god... I agreed to teach them. I contacted Tim at Master Vintner just looking for advice on teaching others to make wine, and he said "why don't I send you a Weekday Wine Pinot Noir. You can make it and tell me what you think." What do I think? Free wine and the fun of making wine... hell yeah, that's what I think. And so the adventure began... teaching my sister and brother in law how to make wine. I should point out that the Weekday Wines kits are only about $50 bucks. So they are as affordable as the lesser quality kits that you see on Amazon.
 The kit arrived, we already had all the gear we needed. But if you need gear to, they have a $99 starter kit, The kit instructions are easy to read and very straight forward. Much better than the others I use (although in fairness the other major producer has "reimagined" their instructions recently, and they are now much better).
There is nothing super difficult about making wine. It really is easier to do than extract brewing. If you are reading this you are probably a brewer. You already know how to be clean and sanitary. The only difference in the production of wine is that you have to be clean and sanitary from the beginning. Many wine makers use sulfites to sanitize, but your regular Starsan will work just fine. Although, with wine I usually rinse it out after it does it's voodoo.
 |
Master Vintner Kits come
with everything you need! |
The next step, Add the bentonite. Make muddy water. Yup, the first step in making crystal clear wine is almost always making muddy water. Bentonite is a gray, clay powder. It is used in wines as a clarifier. It has a negative electrostatic charge. (static electricity) This negative charge along with hydrogen bonding, causes suspended particles in the wine to cling to it as it settles to the bottom of the fermenter.
 After that the process is easy. You add the juice concentrate, fill to the specified amount with water, add your oak (sawdust), pitch your yeast, add your air lock, and wait. That is it. You just made wine.
Now unlike beer you will need to rack the wine once or twice. For making wine, I always use fermenter's with spigots. But a sanitized auto syphon will work as well.
 The instructions tell you when to rack off of the lees (trub for you brewers). This kit was started at 1.089, we racked the first time at 1.020. The wine was already clearing up nicely. Now there is one small change we made, we wanted an off dry "young pinot" So when the wine hit 1.009 (the next night) we went ahead and stabilized it and began the degassing and clearing (fining). But again, I am a little more advanced and I knew exactly what to do to get the result we wanted. The kit instructions tell you to ferment it all the way out (.998) WHEN YOU ARE JUST STARTING IT IS ALWAYS BEST TO FOLLOW THE INSTRUCTIONS.
 So I mentioned degassing. That is one specialty piece of equipment you may need to get. You have seen them before at your local home brew store. You just sanitize, and attach them to a drill. They knock the CO2 out of the wine, which helps it clear up and stabilize.
We then waited another 2 weeks and bottled. A corker is included in a basic kit. I happen to have an italian floor corker, which can do wine or champagne bottles. It is a minor investment if you make a lot of wine. Mine was $50 bucks 20 years ago, but you can still get them for about $70. My niece likes to make and apply labels to our wine. She called this one "Peace out Pinot". I call it awesome.
 |
Testing, recording, and
evaluating is part of
the fun! |
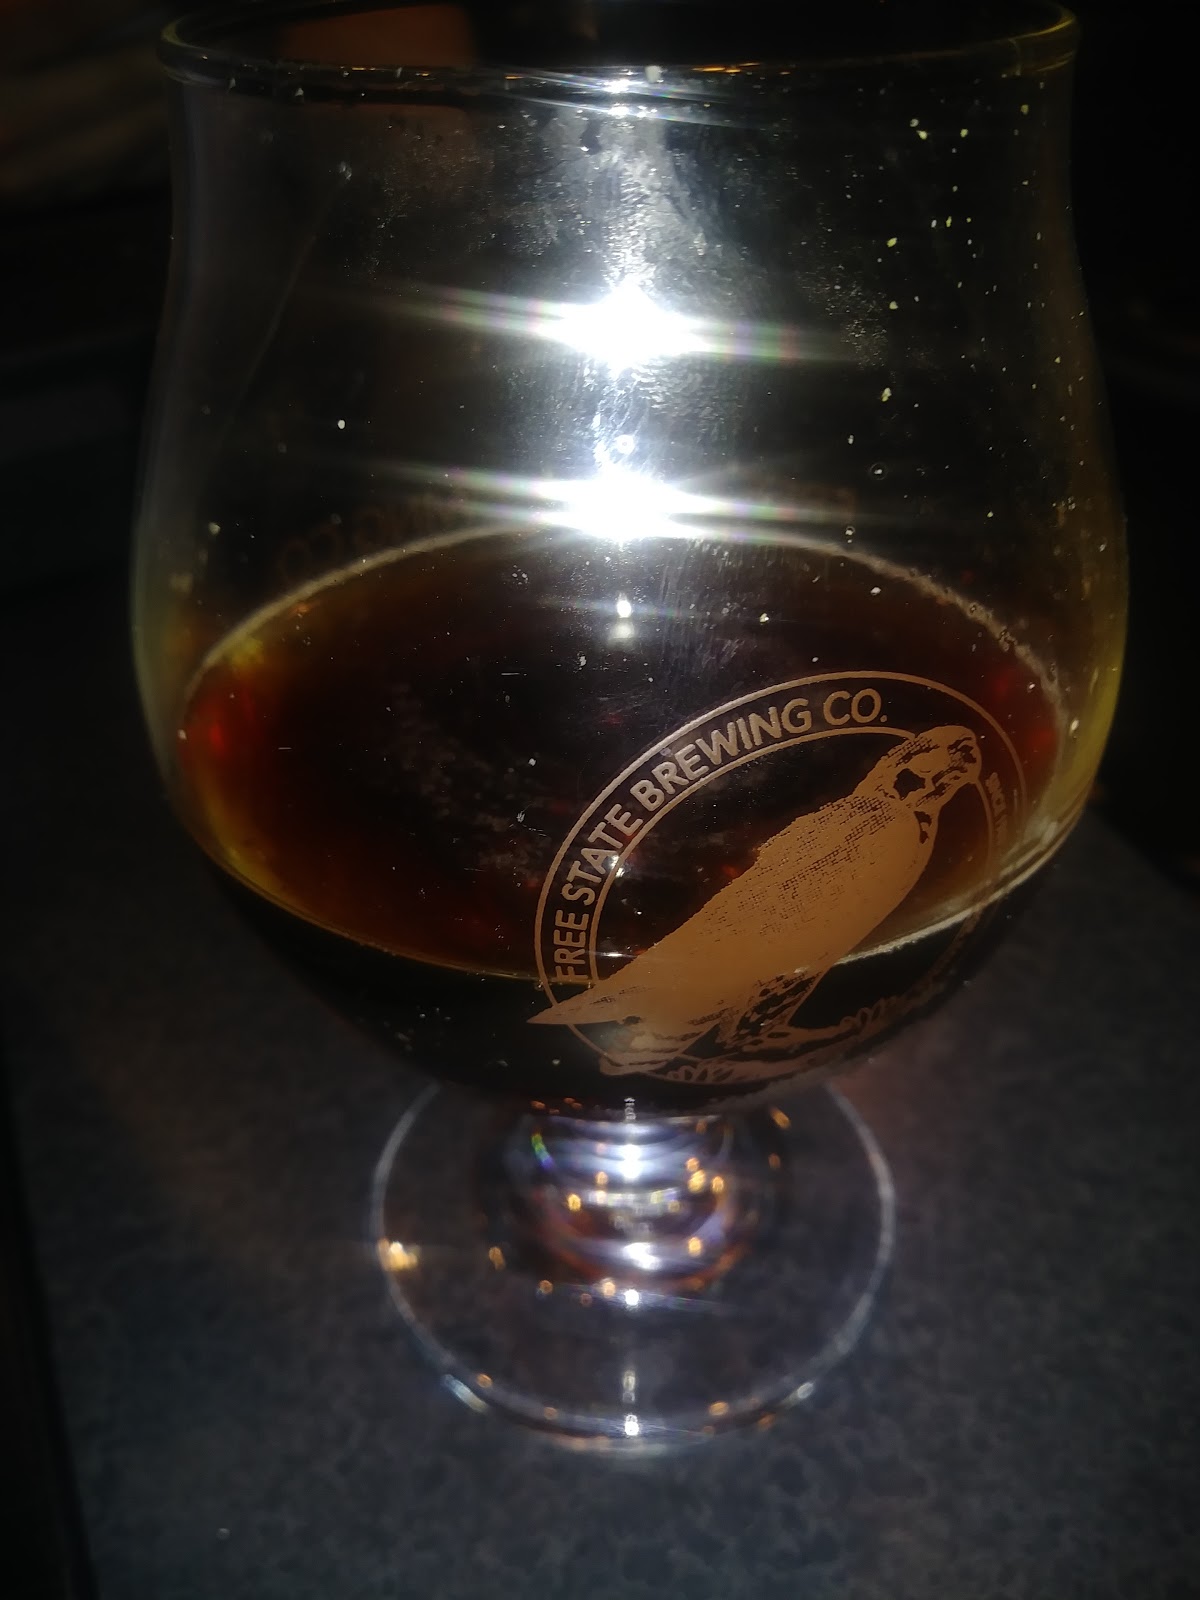
The color is garnet to purple, it is ruby to garnet in the light fading to violet at the edge. Beautiful. The wine would fade to a brick red if it aged, as the blue compounds denatured. But this wine won't be aged. Awesome aromas of berry jam (blackberry and ripe raspberry). The flavor is also vigorous berries, balanced by a nice oak presence and good mouth feel. exactly what you want from a young Pinot Noir. There is no chocolate or tobacco aroma or flavor in this one, but that is ok, that is what we were going for all along. It will be perfect for sitting by the lake and watching boats go by.
So, start making wine. It is fun, and delicious, and it makes you a much better brewer. The things you learn making wine apply to brewing more than you probably realize. And remember chicks dig wine.
 John and I set out to make an ipa using two of our favorite hops and some of our favorite grains... On a week night. On a stove top. Yup we brew small batch to. I know you're all more accustomed to seeing us brew 10 gallons in the garage, but we enjoy brewing and stove top makes it possible to brew any night of the week. From the time I got there till we were all cleaned up was. Just over 3 hours. Not too shabby. And we watched basketball, and we tried some sours. All in all a good week night.
 2.75 Gallons at 75% efficiency


